Playbook Integrations lists all of the product instances created and installed in addition to all of the 3rd party integration sources. You use Playbook Integrations to create the link with a vendor, add their product to your SOAR, and then create a product instance, based on the vendor’s product, and add which actions are part of the product instance.
A single vendor can have multiple inter-related products. The grouping of products according to their respective vendors helps identify the parent organization and also helps perform bulk operations.
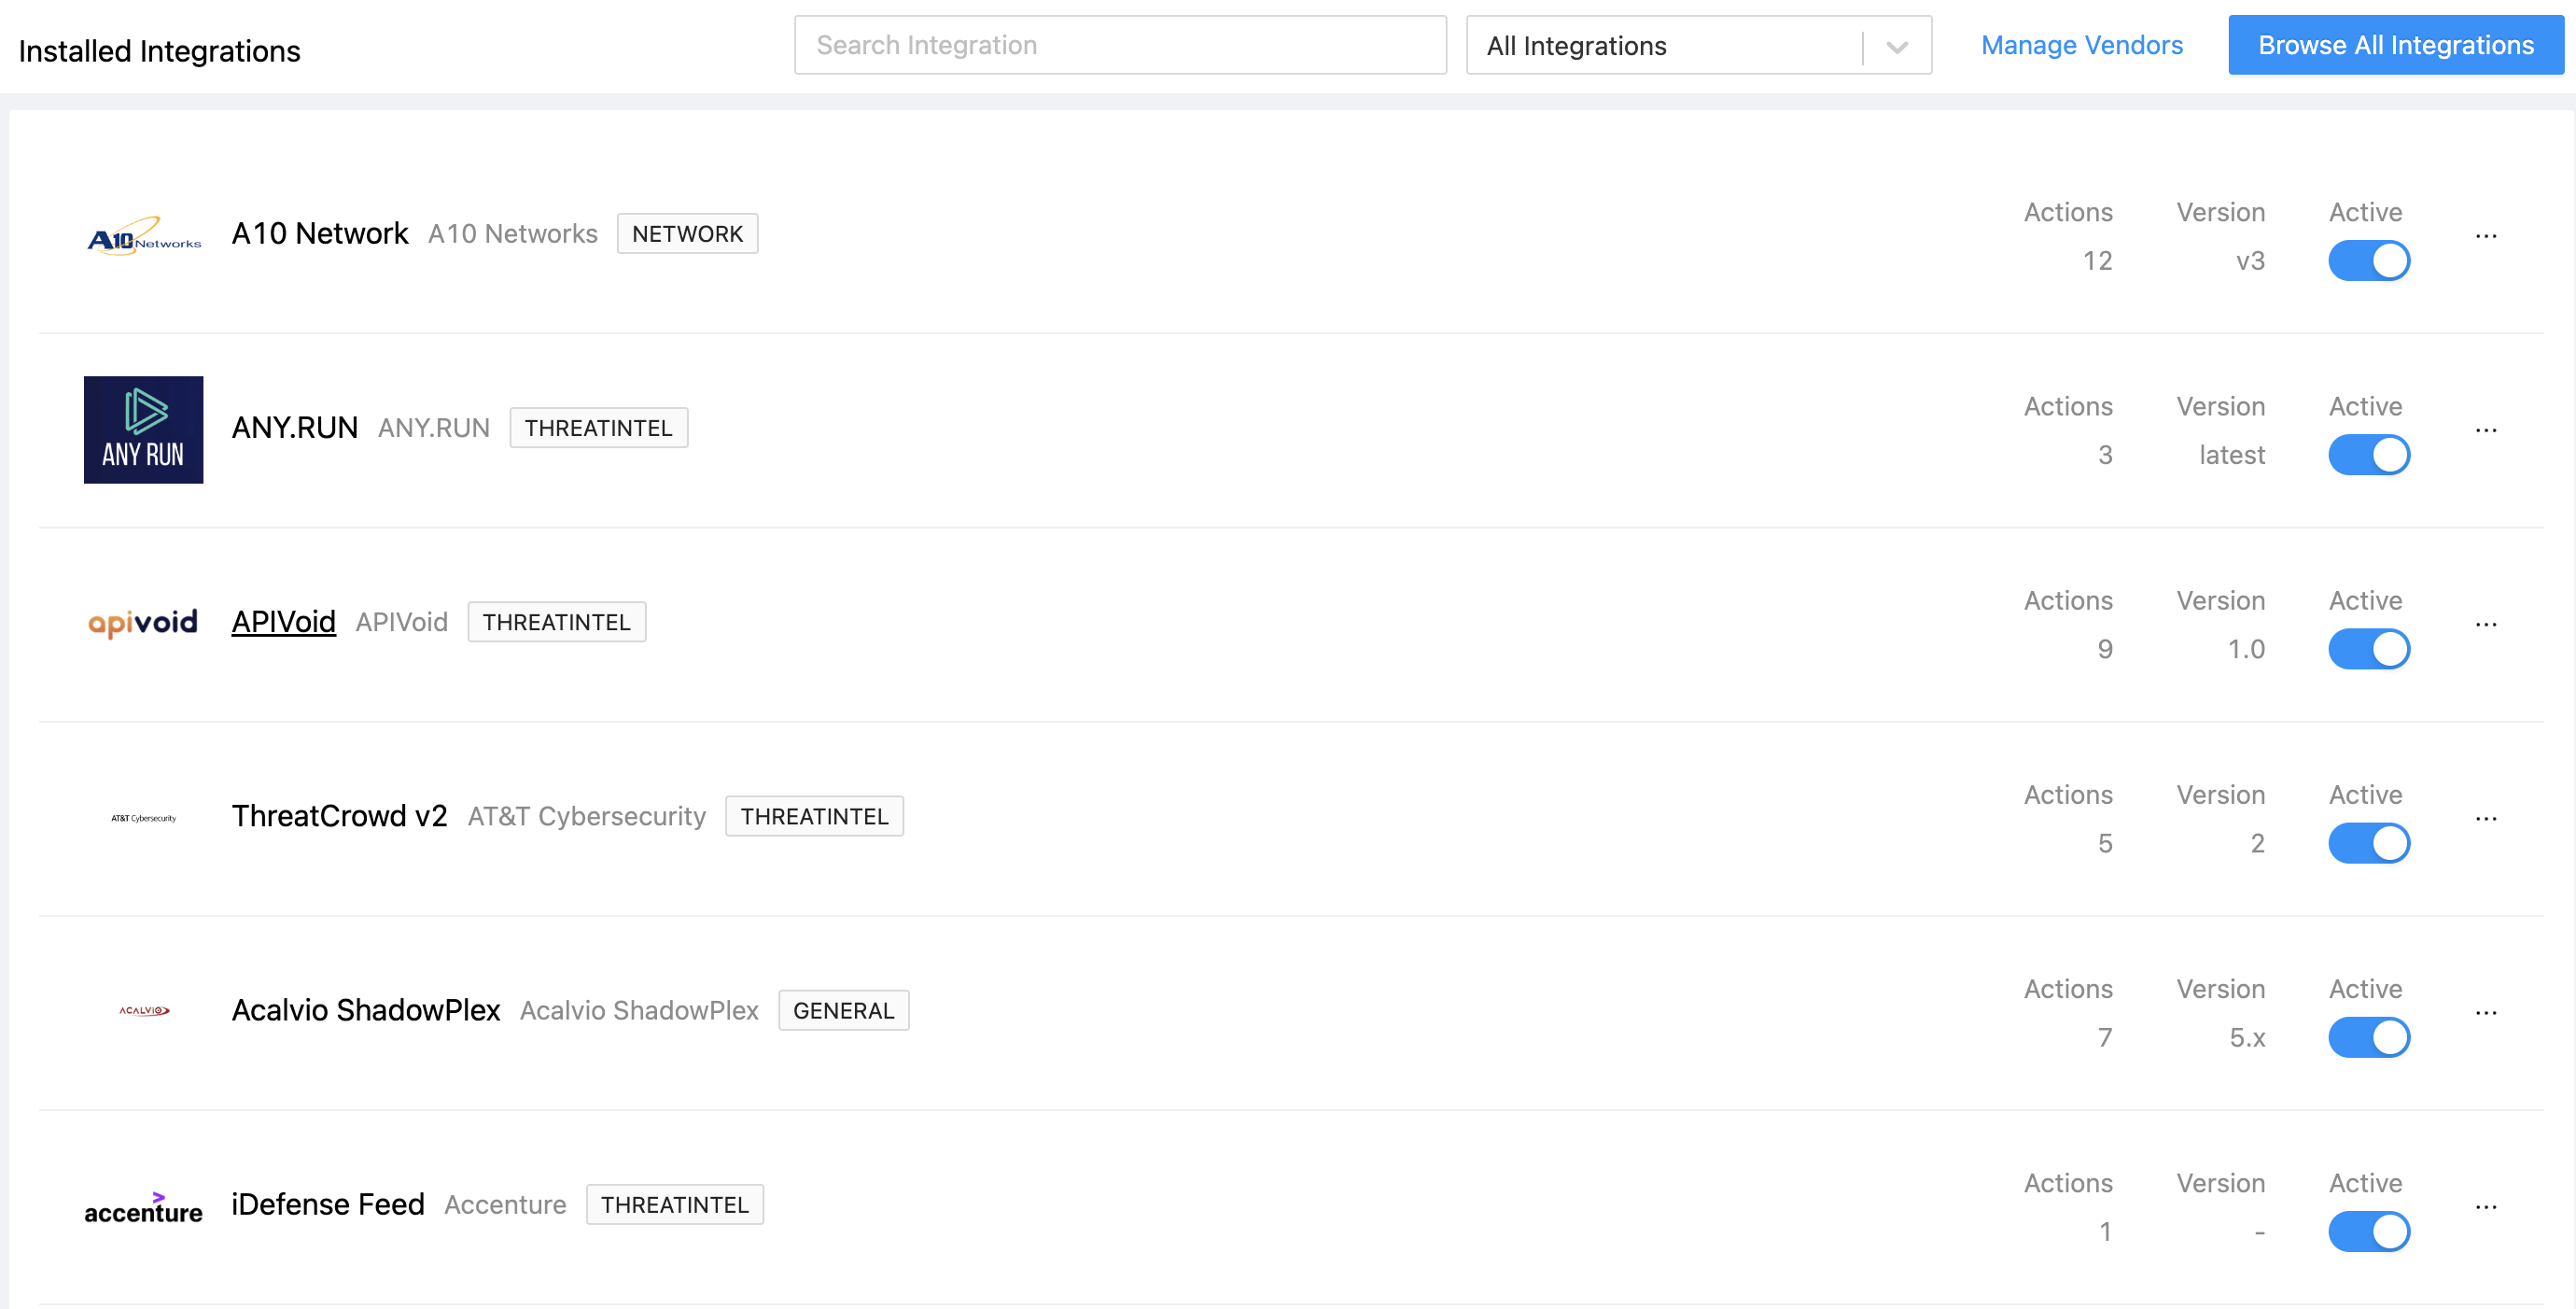
Product Instances List
To view all vendors configured for Logpoint SOAR:
Go to Settings >> SOAR Settings from the navigation bar and click Playbook Integrations
Use the search field at the top to find a specific vendor. You can also sort the list.
The list includes the number of actions the product instance has.
From the list you can:
Click on the vendor name to view configuration details.
Click the ellipsis (…) to modify the configuration.
Deactivate it if you don’t want to use it and don’t want to delete it yet.
You can add a new vendor if it isn’t already setup.
In the Installed Integrations list, click Manage Vendors at the top.
In Vendors, click Create New Vendor.
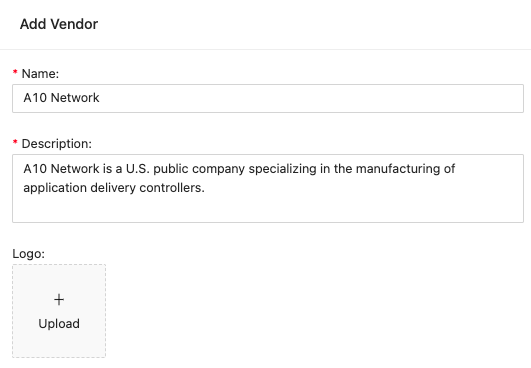
Adding new Vendor
Note
You can check whether the vendor already exists. Use the search field to find it.
Enter the details and upload a logo and click Save.
When a vendor integration is added to SOAR, you can then add which products you want to use and base your product instances on.
In the Installed Integrations list, click Browse all Integrations.
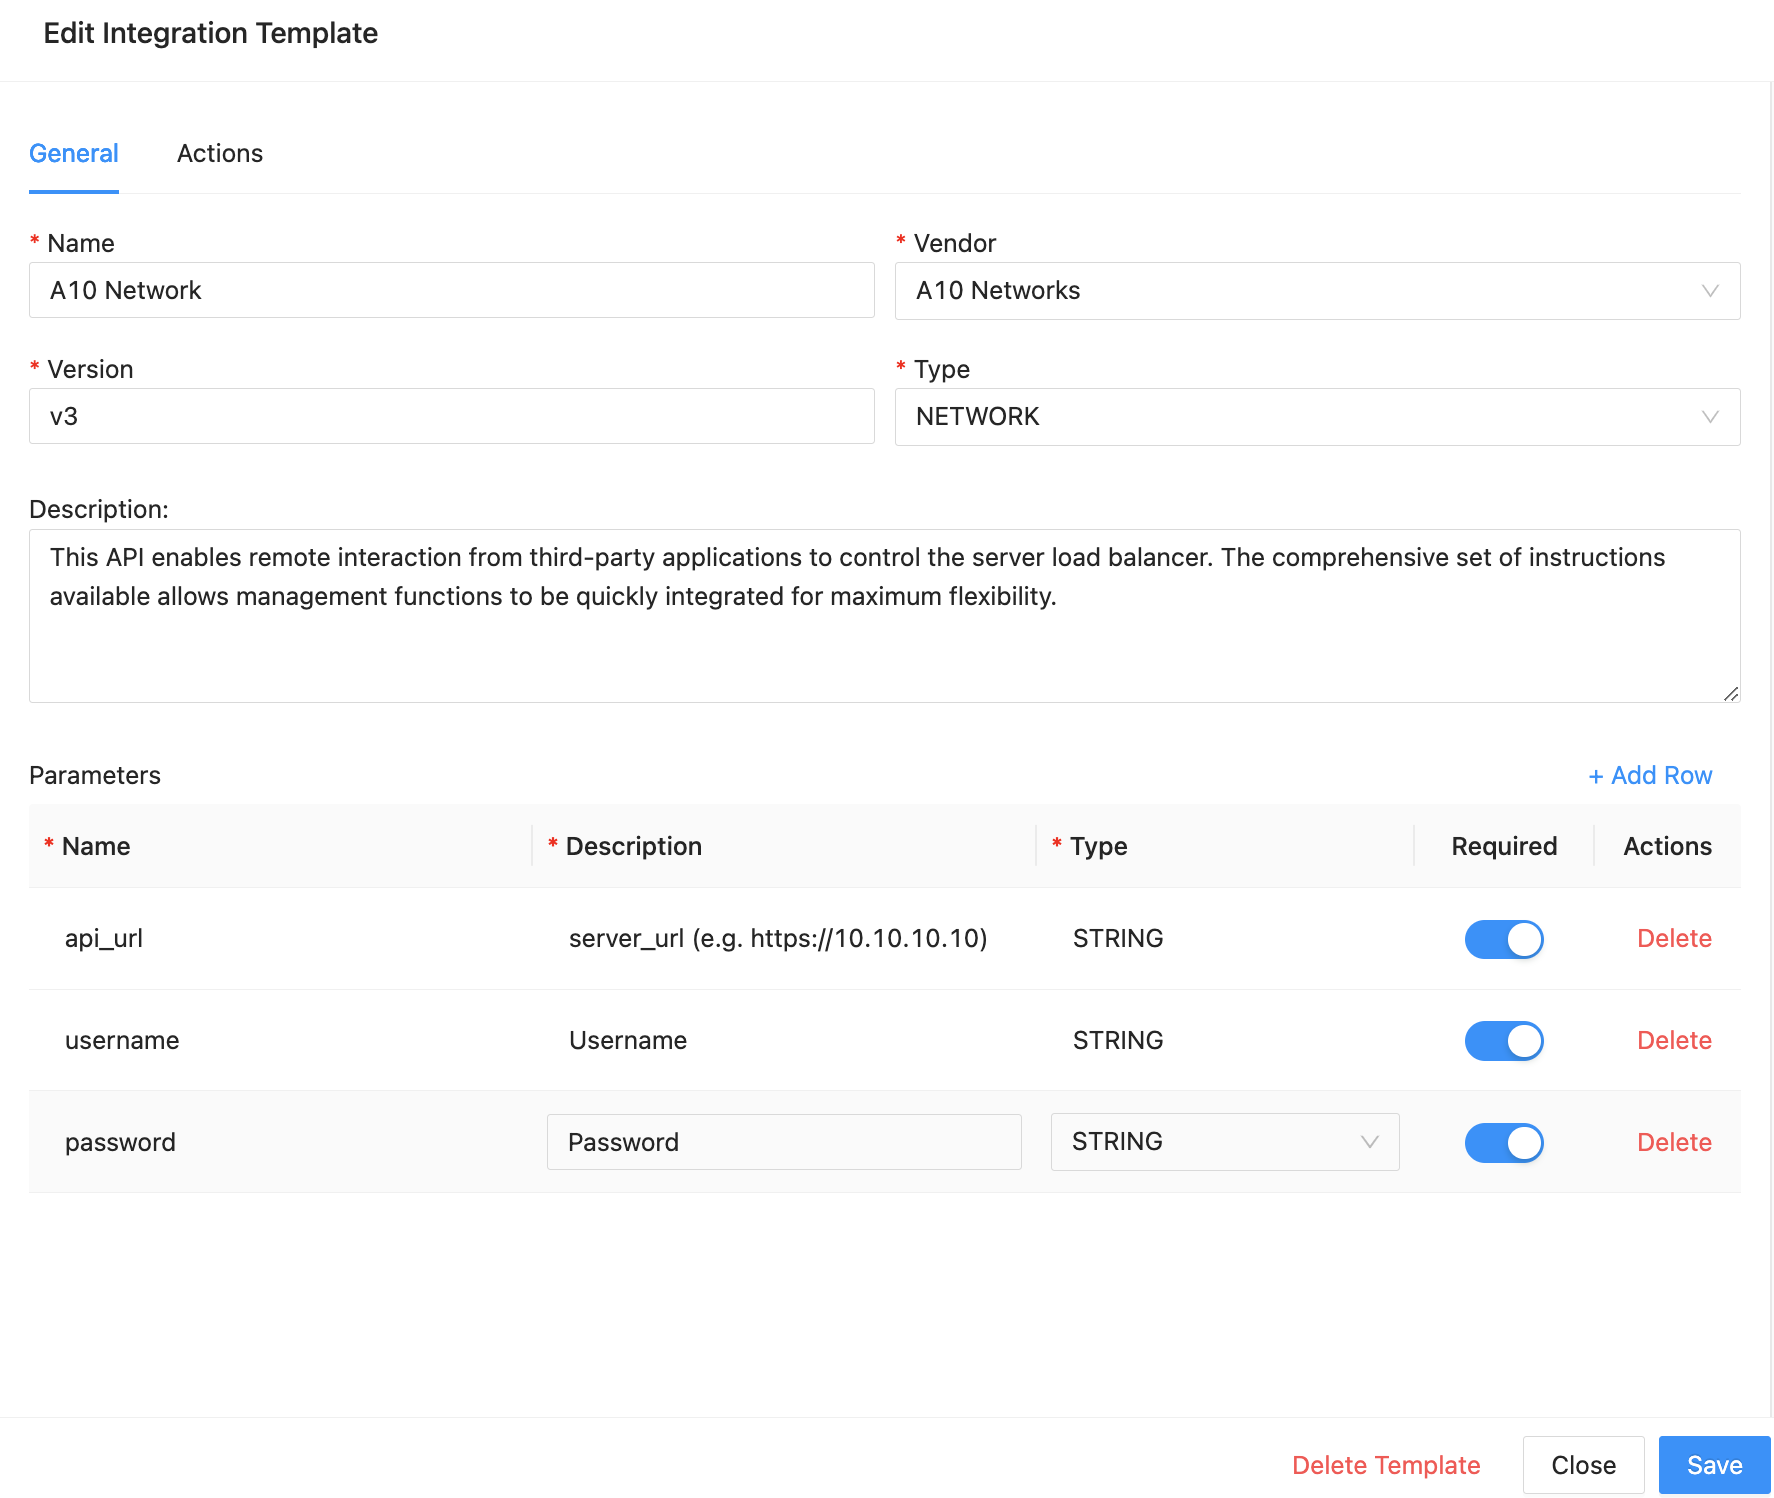
Click Create New Integration.
In Edit Integration Template enter general product details.
Parameters are global product parameters or those parameters that your product instances will start with. Click Add Row to add the first one. Repeat for each, additional parameter you want to add.
Click Save when you are done.
You can add as many product instances, based on a vendor product, as you need. This allows you to make modifications to individual product instances, and use different ones in different playbooks, based on what you want a playbook to do. When you add a new product instance it is termed Integration Template and becomes part of the Integration Template list. When you add new product instances, you use the original Integration template, apply new parameters to it and then use it as another product instance.
In the Playbook Integrations list, click Browse All Integrations.
You can scroll through the list, use Search, or filter the list to find the right one.
Click the ellipsis (….) and then Configure New Instance.
Add the parameters and click Save.
You can modify the parameters of existing product instances if you need to.
In Playbook Integrations, find the product instance in the list.
In the column to the right of Active, click the ellipsis (…).
Click Configure Instance.
Make the changes you need.
Click Save.
Note
The process for adding or modifying parameters is the same for both new and existing integrations.
In the Installed Integrations list, click Browse all Integrations.
You can scroll through the list, use Search, or filter the list to find the right one.
Click Edit Integration Template.
In addition to the general parameters, you can also configure the Actions including adding new ones.
Modify existing actions directly from the Parameters list.
Edit Integration Template
To add new actions, click Actions at the top of Edit Integration Template.
Use General to enter
The Name of the product instance.
The Vendor or Integration the product instance is based on.
The Version of the product instance. This is particularly important when you know you will be setting up multiple product instances.
Select the action Type and Activation Type from the drop-downs.
To add parameters, click Add Row.
Click Add to add Request Params.
Enter the parameter’s Name and Description.
Select the action Type.
Click Required if relevant.
Enter the Default Value.
Click Save.
Click Config.
Enter the exact URL of the action.
Select the request Method from the drop-down.
Enter the Request data.
Select the Request Content Type from the drop-down.
Select the Response Content Type from the drop-down.
Click Add to add Headers
Enter the header’s Name and Value.
If you want to test whether the action works, click Test Action.
Click Save when you are done.
You can export a product instance and use it in another SOAR if you want.
In Playbook Integrations, find the product instance in the list.
In the column to the right of Active, click the ellipsis (…).
The product instance is generated as a .zip file. Go to your downloads folder to find it.